Bridge Scripting
えー、Adobe BridgeはExtendscriptにしっかりと対応しています。ExternalObject等も普通に使えますし、ソケット等の実装も完全に行われています。何故Illustratorはソケットに対応しないのでしょうか???脱線しました。しかしながらこのBridge、他のアプリケーションと毛色が違い、パネルやメニューからスクリプトを実行するという手だてを持ちません。検索しても「ESTKから実行しようね」な書き方とかが出てきて、そういうものなのかって思い込んでしまいそうですが、そんな事はありません。
このBridgeではExtendscriptというのはエクステンションを記述する為の物なのです。ですから、スクリプトはお作法に則りしかるべきメニュー項目として登録して利用出来る様にするべき物なのです。今回はその辺りの事をつらつらと書き連ねたいと思います。
まずはこちら、OMVより抜き出してきた文書です。
MenuElement.create (type: String , text: String , location: String , id: String ): MenuElement
Adobe Bridge CC Object Model
Adds a new menu to the menu bar, a new submenu to an existing menu, or a new command to an existing menu or submenu.
Use this function to create new menu items, rather than the new operator. This function behaves correctly if a menu item with the same name already exists.
type: Data Type: String
The type of menu element, a menu or command.
Either menu , a menu or submenu, or command , a menu item.
text: Data Type: String
The localizable string that is displayed as the label text.
Script-created menu and menu commands cannot have keyboard shortcuts or icons.
location: Data Type: String
A string describing the location of the new menu element, with respect to existing menu elements.
This can take one of the following forms:
before identifier : Create the new element before the given menu element.
after identifier : Create the new element before the given menu element.
at the end of identifier : Append the new element to the given menu. The identifier must be for a menu, not a command item.
at the beginning of identifier : Create the new element as the first item in the given menu. The identifier must be for a menu, not a command item.
To insert a separator before or after the new element, specify a dash (-) at the beginning or end of the location string.
A string that does not conform to these rules causes a run-time error.
id (optional): Data Type: String
The unique identifier for this element.
If the ID of an existing menu or submenu is supplied, the call returns that menu object.
If the ID of an existing command is supplied, the call causes a JavaScript error.
If not supplied, the call generates a numeric value, which can be found in the id property of the returned menu object.
createというメソッドがあります。これがメニュー項目を追加するのですが、引数を説明しておきましょう。
1 typeは「menu」「submenu」「command」の3種類。
2 textはメニュー上で表記される文字列。ローカライズ方法はそのうち解説します。
3 挿入する場所。識別子は以下
before
after
at the beginning of
at the end of
4 一意のID
面白いのは挿入する場所の指定。何々の前とか後とかなんとかの頭とか一番最後的な表記で配置します。そして残念な事にショートカットの割当は不可能です。
FaceTrackerサンプルコード
addMenu = {
menuID : “FaceTracking”,
menuCommandID : “FaceTrackingSub”,
run : function() {
if(!this.canRun()) return false;
var newMenu = new MenuElement(“menu”, “Face Tracking”, “after Help”, this.menuID);
var menuItem = new MenuElement(“command”, “Track Faces”,
“at the end of ” + this.menuID, this.menuCommandID );
menuItem.onSelect = function () {
var tgtFile = app.document.selections[0].path;
var cascadeFile = “/haarcascades/haarcascade_frontalface_alt_tree.xml”;
try{
var extObj = new ExternalObject(“lib:/faceDetecter64-1.0.2.framework”);
var rt = extObj.trackFace(tgtFile, cascadeFile, 1.11, 4, 25);
if (rt.length==0) {
alert(“detection failed…”);
extObj.unload();
return;
}
alert (rt);
extObj.unload();
}catch(e){
alert(e);
}
return;
}
return true;
},
canRun : function() {
if(BridgeTalk.appName == “bridge”) {
if((MenuElement.find(this.menuID))
&& (MenuElement.find(this.menuCommandID))) {
alert(“menu item aleady exist…”);
return false;
}
return true;
}
return false;
}
}
addMenu.run();
以上の様な感じですね。ご覧の様にメニューが選択された場合にinvokeされるスクリプトは「onSelect」にあてます。canRun()というファンクションはメニューコマンドIDが重複しない様にチェックする為のものです。
重要な部分だけ解説しておきます。
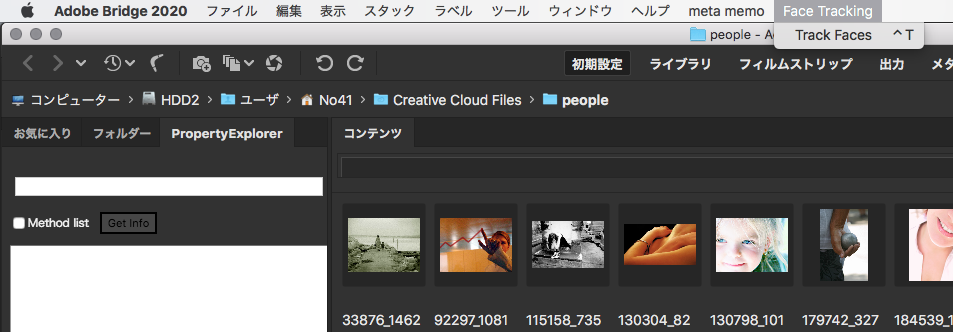
var newMenu = new MenuElement(“menu”, “Face Tracking”, “after Help”, this.menuID);
この例ではcreateメソッドを使っていません。オブジェクトをインスタンス化してメソッドに代えています。引数は順番にmenuはメニュー項目の追加を表わしています。続く文字列「Face Tracking」が実際に表示される文字列で、「after Help」は表示される位置。この場合Helpの後と言う事ですね。最後に一意のIDと言う具合に並んでいます。
var menuItem = new MenuElement(“command”, “Track Faces”,
“at the end of ” + this.menuID, this.menuCommandID );
こちらの場合は登録されるのがコマンドだと言うだけであとは変わりません。
結果はこんな風になります。
![]()
![]()
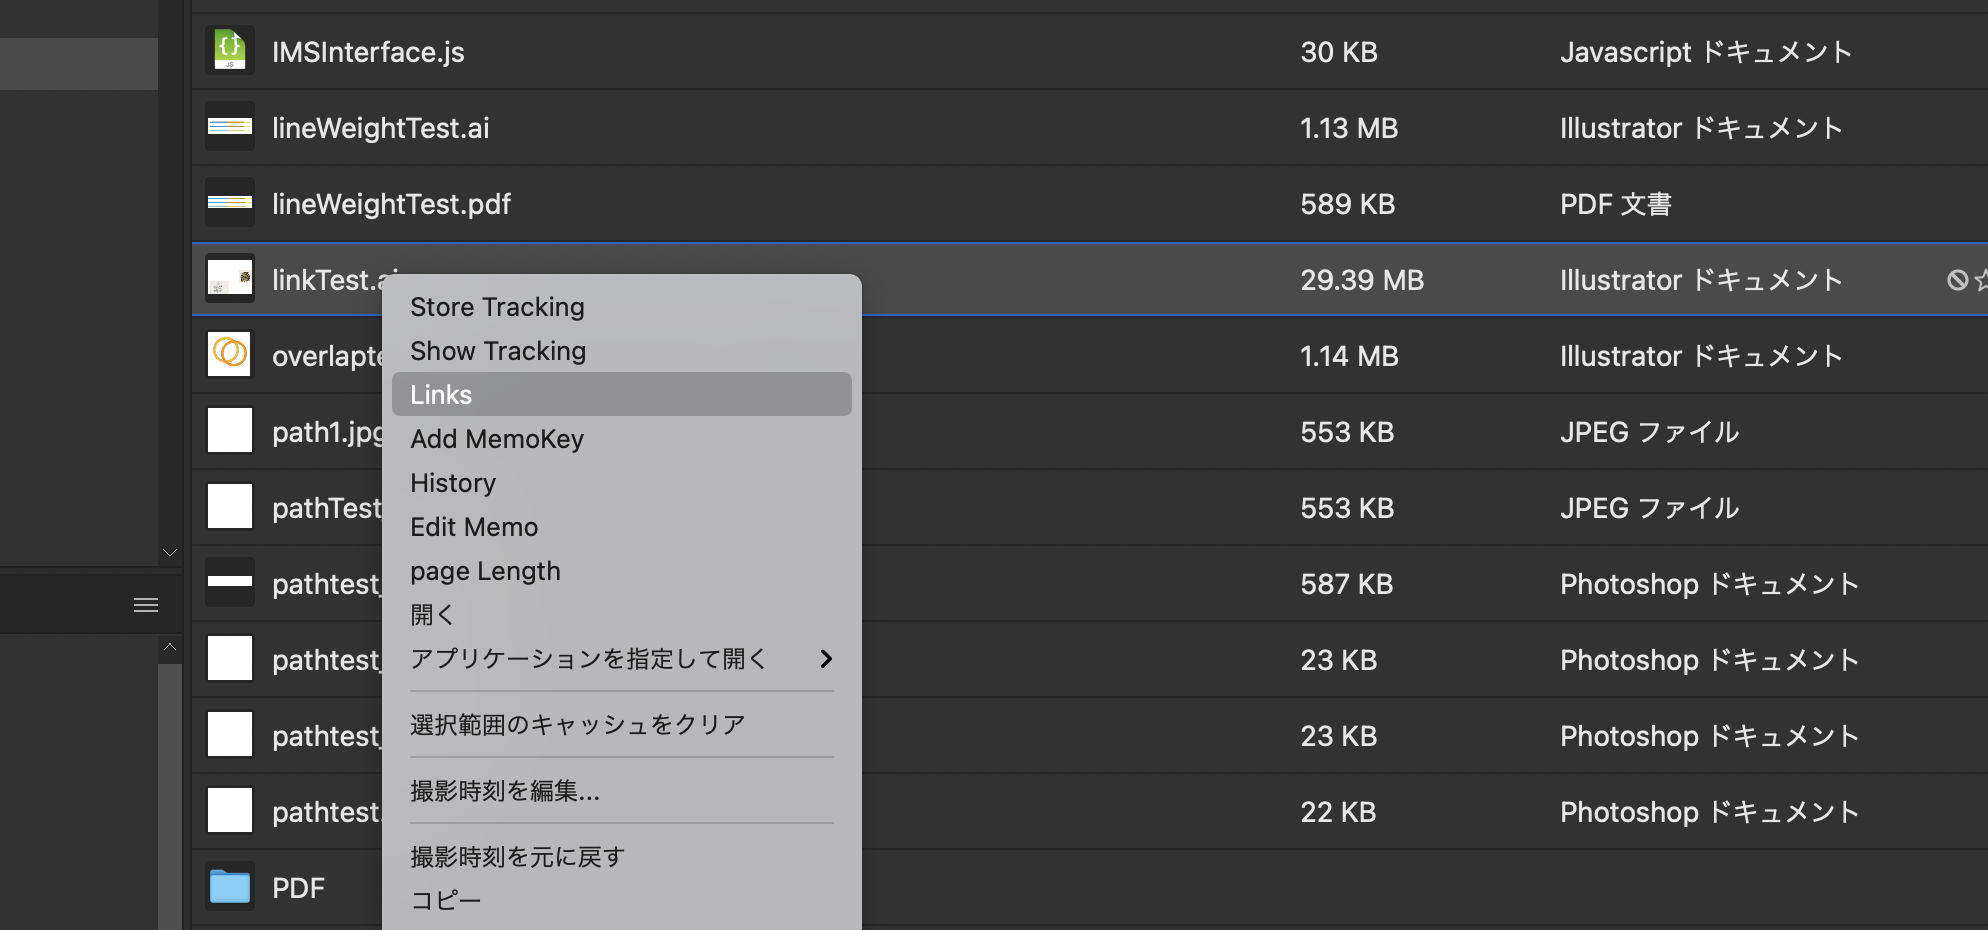
次のサンプルはコンテキストメニューに追加する場合です。コンテキストメニューの場合も要領は変わりません。メニューはThumbnail以下に登録する形になります。その他のIDに関しては「Bridge CS6 JavaScript Reference.pdf」を確認するとよいでしょう。
addMenu = {
menuCommandID : “addTracking”,
run : function() {
if(!this.canRun()) return false;
var menuItem2 = new MenuElement(“command”, “Show Tracking”,
“at the beginning of Thumbnail”, “ShowTracking”);
menuItem2.onSelect = function () {
if(xmpLib==undefined) {
if(Folder.fs==”Windows”)
var pathToLib = Folder.startup.fsName + “/AdobeXMPScript.dll”;
else
var pathToLib = Folder.startup.fsName + “/AdobeXMPScript.framework”;
var libfile = new File(pathToLib);
var xmpLib = new ExternalObject(“lib:”+pathToLib);
}
var thumb = app.document.selections[0];
if(thumb.hasMetadata){
try{
var md = thumb.synchronousMetadata;
var xmp = new XMPMeta(md.serialize());
var ns = “http://chuwa.sytes.net/cclab/metadata/”;
var fcs = xmp.getProperty(ns, “faces”).toString();
if (fcs>0) var bnds = xmp.getProperty(ns, “bounds”).toString();
else var bnds = “nothing”;
var wd = xmp.getProperty(ns, “width”).toString();
var ht = xmp.getProperty(ns, “height”).toString();
alert (“image width : “+ wd
+ “\nimage height : ” + ht
+ “\nface length : ” + fcs
+ “\nbounds : ” + bnds);
}
catch (o_O){
alert(“No track data…”);
}
return;
}
}
return true;
},
canRun : function() {
if(BridgeTalk.appName == “bridge”) {
if(MenuElement.find(this.menuCommandID)) {
alert(“menu item aleady exist…”);
return false;
}
return true;
}
return false;
}
}
addMenu.run();
このように先程のものと殆ど変わりませんね。こちらはメニューが選ばれるとxmpメタデータを読込んでカスタムプロパティを抜き出して表示してくれるものです。


こんな感じのダイアログが出ます。検出した顔の数とその座標、バウンズのサイズ及び画像の縦横のサイズが読み出されます。今回は解説しませんが、XMPMetaにアクセスするサンプルとしても有用でしょう。研究してみてください。
ここまでは、サンプルをお手本にした記述です。最後に掲載するのは純正で組み込まれるAIオートトレースメニューを登録する。スクリプトです。
if (BridgeTalk.appName == “bridge” ) {
AdobeIllustratorAutomation = {};
AdobeIllustratorAutomation.resourcesFolderPath = File($.fileName).path + “/Resources”;
AdobeIllustratorAutomation.createMenu = function( type, text, where, id) {
var aMenu = null;
aMenu = MenuElement.find( id );
if ( aMenu == null ) {
aMenu = MenuElement.create( type, text, where, id );
}
aMenu.enabled = true;
return aMenu;
}
AdobeIllustratorAutomation.executeMenu = function( menu ) {
try {
if ( !menu.scriptFile.hasBeenLoaded ) {
$.evalFile( menu.scriptFile );
menu.scriptFile.hasBeenLoaded = true;
}
var exeString = menu.scriptExecutor;
eval( exeString ); // if this fails, the script hasn’t been loaded
} catch ( e ) {
var msg = menu.text + localize( “$$$/AIA/ScriptFailedToLoad= failed to load properly: ” ) + “\n”;
msg += localize( “$$$/AIA/ScriptFile=Script File: ” ) + decodeURI( menu.scriptFile.name) + “\n”;
msg += localize( “$$$/AIA/LineNumber=Line Number: ” ) + e.line + “\n”;
msg += e;
alert( msg );
}
}
AdobeIllustratorAutomation.createLiveTraceMenu = function() {
AdobeIllustratorAutomation.menu = AdobeIllustratorAutomation.createMenu( “command”, localize(“$$$/AIA/LiveTraceMenu=Image Trace…”), “at the end of tools/ai”, “tools/ai/LiveTrace”);
AdobeIllustratorAutomation.menu.onSelect = AdobeIllustratorAutomation.executeMenu;
AdobeIllustratorAutomation.menu.scriptFile = new File( AdobeIllustratorAutomation.resourcesFolderPath + “/LiveTrace_AI.jsx” );
AdobeIllustratorAutomation.menu.scriptExecutor = “LiveTrace_AI.doLiveTraceMenuOnSelect();”;
}
AdobeIllustratorAutomation.createMenu( “menu”, localize(“$$$/AIA/ToolsAIMenu=Illustrator”), “at the end of tools”, “tools/ai” );
AdobeIllustratorAutomation.createLiveTraceMenu();
}
ご覧の通り、createメソッドを利用して登録されています。また、主要なOMが変更されてませんのでCS3以降のBridgeは殆どのスクリプトが共通で動作します。注意点はBridgeが64bit化されたのはCS6からですから、わたしのサンプルの様にExternalObjectを扱う場合は注意が必要です。